Howdy! I managed to eek out some sewing time and put together the two Boo quilt tops for the Boos and Ghouls mini Quilt-a-Long over at Bryan House Quilts.
These went together so quickly...and I'm a novice quilter! So go gather your black, gray and white scraps and make some cute ghosts! (Or, if you're just beginning like me, go raid the 6" square basket at your local quilt store, lol!)
Hopefully, I'll get some time tomorrow to go pick out some backing fabric for these cuties...and have them up on my wall for at least part of October!
Thanks for stopping by,
Meredith
P.S. ~ I'm linking this post to the Scraptastic Tuesday Linky hosted by Mrs Sew and Sow and She Can Quilt. Come join in on the fun!
Oh goodness...this little pattern is so cute! I'm loving how these mini quilts are coming together!
I've got the ghoul top stitched...and over the next few days hope to have time to put together the boos, I can hardly wait!
If you'd like to make your own, you can find all the information over at Bryan House Quilts...have fun!
Thanks for stopping by,
Meredith
I'm making progress on the quilt-a-long that is being hosted at Bryan House Quilts...Monday the cutting instructions were posted.
I spent a fun half hour or so at my local quilt shop sorting through their 6" scrap bin, pulling out all the black, gray and white scraps that I could find...at 7 for $1, it's hard to get too much!
Then last night I started cutting away...and now...
The cutting is done! Two Boos and one Ghoul, in pieces!
I'm ready for next Monday when the stitching begins!
Meredith
Well, hello!
I've been keeping busy with lots of things, one of which is a new skill I'm learning, quilting! I just finished a class at my local quilt shop, and have a completed project, yeah!
As I was looking around for my next project, I came across an invitation for a Quilt-a-long with Bryan House Quilts to make these adorable ghost mini-quilts!
How cute are they? I plan to make two boy ghosts and one girl, representing my children. Then, as they move on, they can have a cute decoration for Halloween of their own...if I can give them up, that is!
I look forward to practicing my newfound skills, and ending up with cute decor!
Meredith
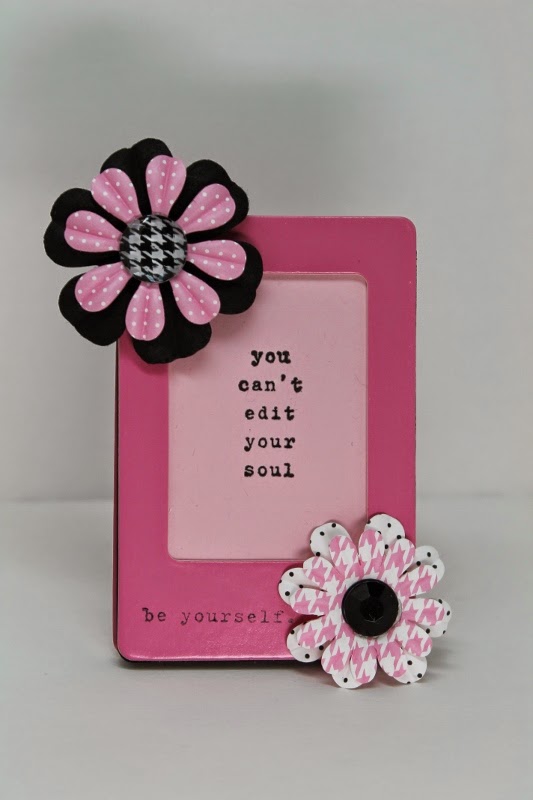
Just popping in to share a quick project...my daughter is off for some more Coast Guard training, and requested some goodies from home to personalize her space.
I found some instax picture frames at Michael's (she was given the camera for her birthday) and decided to gussy them up some.
Because you don't always have pictures that you want to frame right away, I used my Unity stamps to decorate one of the frames, and put a quote inside.
I'm linking up to the Unity Friends with Flair party...you should come join in if you aren't already...there is lots of inspiration to see...and prizes!
Thanks for stopping by,
Meredith
I'm breaking away from my normal paper crafts this month...and putting my Silhouette cutter to use on a different medium ~ t-shirts!
It is most definitely spring here the southwest, well into it, in fact...and that means that its time to break out the tees! I don't know about you, but I get a little bored with wearing the same ones over and over, so I decided to do a little makeover on the plain tees that I'm used to wearing.
I purchased new ones for these projects - but you could just as easily treat some much-loved tees that are already in your closet to the same designs!
First, I cut some freezer paper with the design that I wanted to use, this one from the Silhouette store, and ironed it on to my t-shirt. There are some great instructions for cutting and using the freezer paper here. I then used a spray paint for fabric to spray over the stencils going over the fabric much heavier toward the bottom of the shirt and fading to almost no color at the top...I was going for the ombre look.
This is what it looked like right after I finished spraying, before I removed the freezer paper stencils...
And this is after the stencils were removed...perfect!
I have to wait one more day for it to dry according to the instructions on the paint...but I'm pretty pleased with how it turned out!
Then, I cut some htv (heat transfer vinyl) in the same design and ironed them on. This is a pretty straitforward tutorial on using heat transfer vinyl. My hint...make sure you purchase Easyweed htv...do you see all those little parts that needed weeded from my design? With the easyweed, I didn't even use a hook tool, I simply bent the backing/transfer side and the edge popped right up for me to grab hold and pull!
Here's the finished shirt with that method...
Meh...I could have placed the designs a bit better, but pretty good!
Third, I cut some contact paper with the same design, but this time I placed the designs on the shirt...
And then sprayed the shirt with diluted bleach from a spray bottle. The process was fine...the result...
Not really what I was going for! Oh well...it's still a good shirt...and I'll experiment with another color of fabric paint a little later to see if I can get a design on the shirt.
Bonus: I liked the floral design so much, that I used it on a mug that I etched for my mil as her Mother's Day gift! On her last visit she caught sight of a mug that I had experimented with glass etching on...simply putting my first initial on one side. She hinted strongly that it would make a good gift for her, as we share the same initial. :) I decided that I could do one better, and make her her own mug.
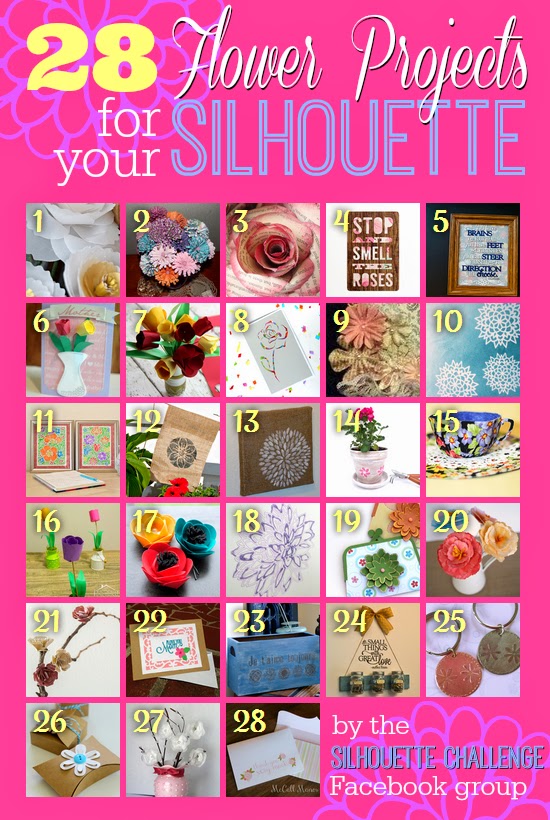
Thanks for stopping by my little corner of the online world! For more flower inspiration and projects, be sure to visit the links below!
Meredith
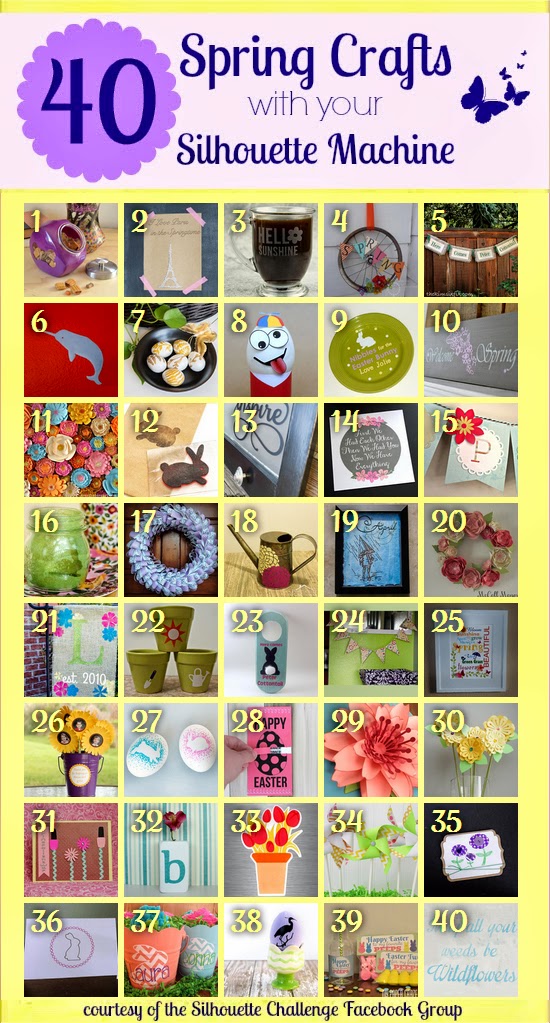
My Silhouette Challenge buddies and I are all sharing projects on our blogs today, so peruse the projects below for a wealth of Silhouette inspiration!
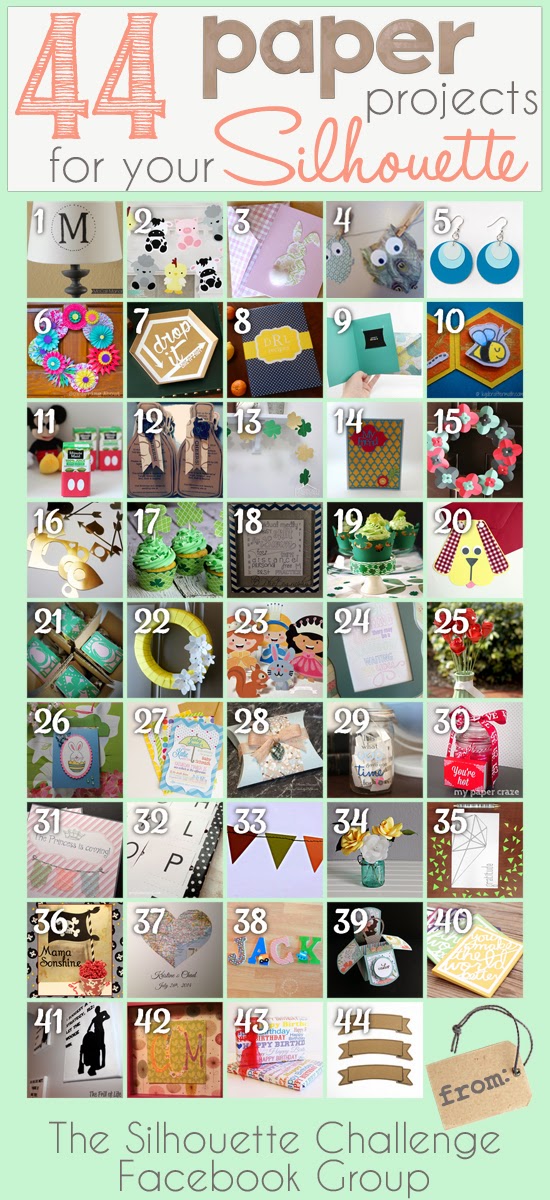
1.
Create & Babble // 2.
Kate's Paper Creations // 3.
Please Excuse My Craftermath // 4.
Tried & True // 5.
unOriginal Mom // 6.
Mama Sonshine // 7.
Adventures in All Things Food & Family // 8.
The Experimental Home // 9.
The Outlandish Momma // 10.
Whats Next Ma // 11.
Dream a Little Bigger // 12.
Silhouette School // 13.
Creative Ramblings // 14.
Our Rosey Life // 15.
Bringing Creativity 2 Life // 16.
Practically Functional // 17.
Minted Strawberry // 18.
Two Purple Couches // 19.
Simply Kelly Designs // 20.
Grey Luster Girl // 21.
TitiCrafty // 22.
My Mom Made That // 23.
Architecture of a Mom // 24.
My Paper Craze // 25.
The Sensory Emporium // 26.
Ginger Snap Crafts // 27.
Mabey She Made It // 28.
McCall Manor //
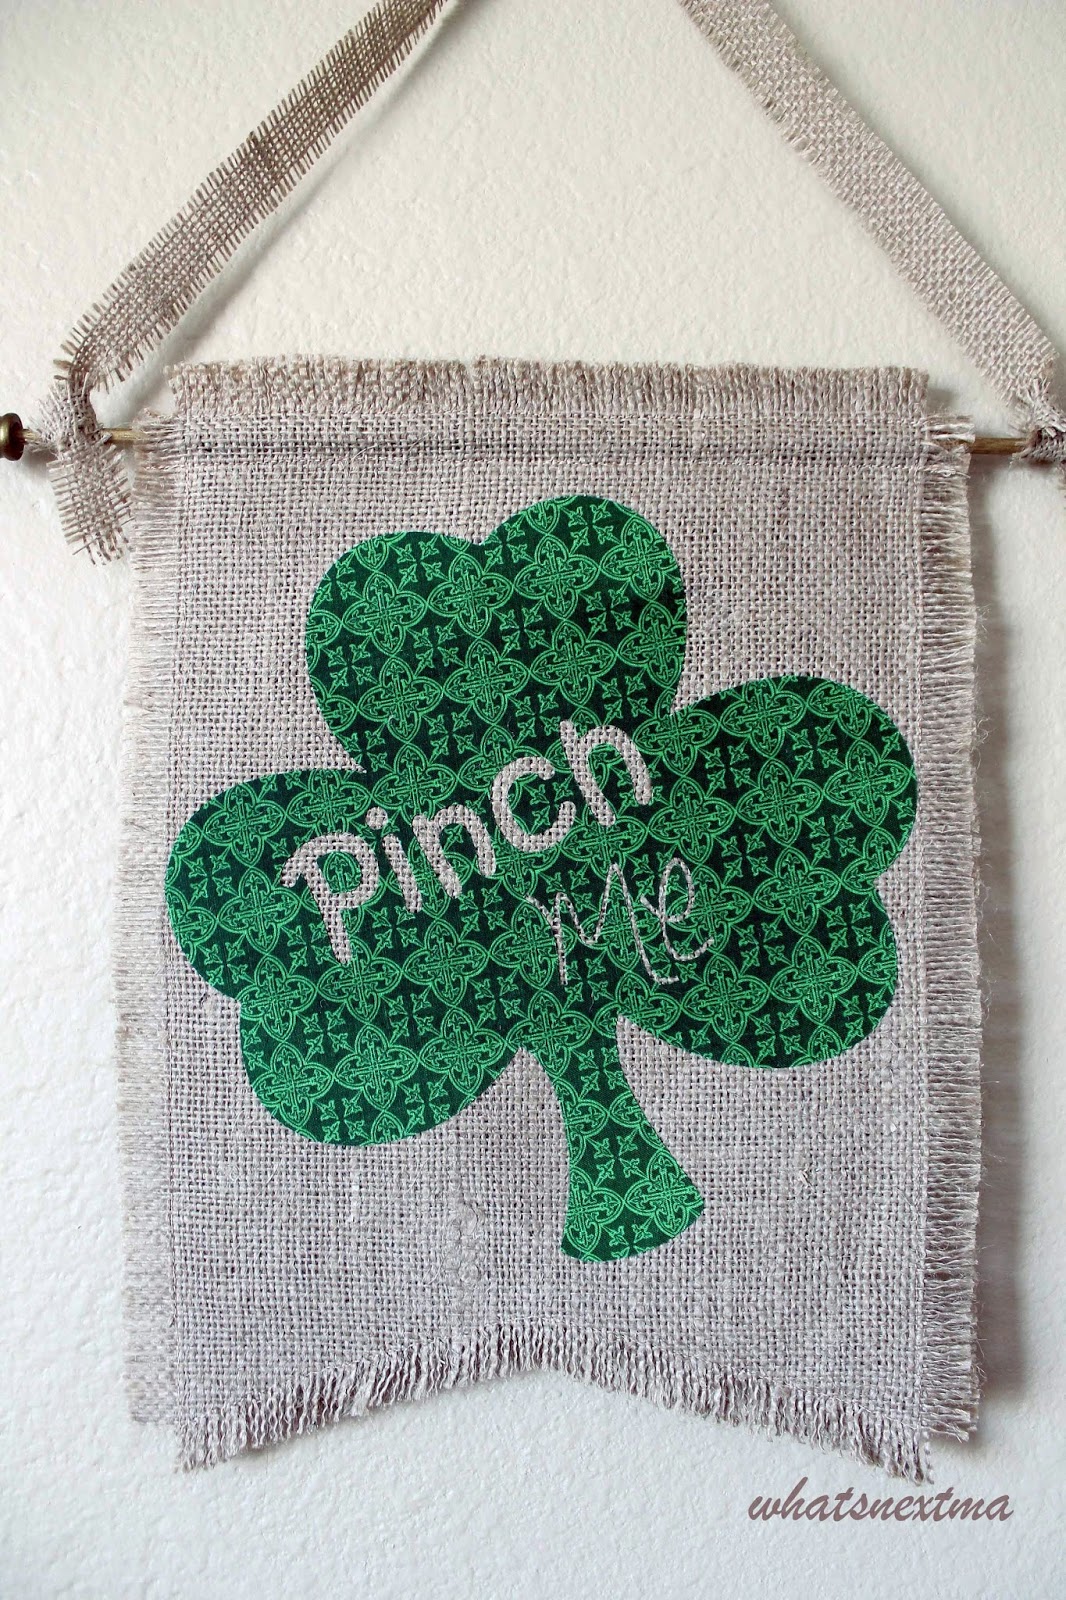
Hello, and Happy St. Patrick's Day to you!
I'm just dropping in to show how I made some cards that I did for a swap recently.
I'm a member of the Silhouette Challenge Facebook Group (the link to request membership is in the sidebar) and the first of four fun swap activities for 2014 was to join in on a handmade card swap. All the cards are in the mail back to us (I'm still waiting for mine to arrive) and some have already made it to their new homes!
Here is an example of the cards that I made for the swap...
I had a request to share how my cards were made, so here you go!
I used a cut file from the Silhouette store, design #55107 for the swap, and design #55684 for today. I did modify them a bit...I used a rounded rectangle for the base instead of the sharp corner one that it comes with.
Supplies:
- cut files (listed above)
- cardstock - green: Bazzil; white and cream: Wausau; pink: unknown
- embroidery floss: DMC
- embossing folder: Darice
When you choose your cardstock for the card base and the cut layer, I recommend a heavier weight cardstock so it can stand up to the stitching - I chose bright colors for the card base and white or cream for the cut layer.
Cut the file from your cardstock...the settings you use will depend on the cardstock you chose. Oh, and don't resize the file, you need the stitching holes to not change.
When you pull the cardstock off the cutting mat, you will probably have some stitching holes that still have the cardstock in them...just push the cardstock from the front to the back and brush it off with your fingers.
I wanted to add some extra texture to my cards, so I chose embossing folders and ran the cut cardstock through to add some dimension.
For the next step I chose an embroidery floss color that matched (as best I could) the colored cardstock that I used for the card base. I used all six strands and stitched the shape using a backstitch.
A backstitch is a stitch made with stitches sewn backwards in the direction of the sewing. Bring the needle up in the forward hole...
Then back down through the stitch behind.
Here is what the back side looks like. I just used tape to secure the ends of the embroidery floss.
You do need to take care not to pull too hard while stitching, as the embossed paper will tear if you do. If it does, simply take the stitch again, supporting it with your finger so that it does not move through the torn spot, and move on to the next stitch.
Once the stitching was complete I added foam adhesive to the back side of the stitched piece, and adhered it to the card base. The foam adds another layer of dimension...and it would be difficult to adhere the stitched layer flat to the card with the bulk of the stitches on the back.
That's it! Your card is done!
If you are not a fan of the embossing, or just want to do things a bit differently, I also like the look of the layer with some ink along the edges to add a bit of dimension. I made this card base larger...that is why the shamrock looks like a different size.
Have fun making your own projects!
If you're interested in participating in the next group swap, we'd love to have you join in! The details will come in June, but I'll be hosting a tag swap with the group in July to play along with all my Silhouette Facebook friends!
Have a great day!
Meredith
Hello, hello!
I haven't been posting much, but that doesn't mean that I haven't been creating! I've got something special to show you today...I hope you like it!
I'm participating with the Silhouette Challenge group today ~ this month the challenge is all about paper! My project is more about showing off your card creations to best advantage, but there will be a huge batch of other fabulous projects at the bottom of this post.
If you've explored this blog at all, you know that I make handmade cards...lots of handmade cards. I put time, thought and love into each of these creations, just as you do with what you make. Then, when it comes time to pair one of those cards with a gift, what do I do?
I stuff it in an envelope and drop it in the bag. That's it.
No more!
Now, thanks to the brilliant idea I found here, I'll be proudly displaying the card on the front of the gift bag!
I've got some examples for you...this idea is so versatile, you could use it any way that you want to!
You can use a top-folding card...
or a side-fold card...
You can make the card holder the same color as the bag...
or you can make it a decorative element in and of itself...here's a close-up...
See, any way that you want!
I do have a few files to share with you, but really, you can make this easily yourself. Just make the opening that you will slide the card through about 1/4 to 3/8" larger than the length of the side that you want it to hold. Have fun going through the label and frame shapes that you have to choose the outer edge to cut.
You may download the files I made here.
Greeting Card Holder
You are free to use
these files for personal and commercial use, but you may not share the
file themselves. Please send those who want the file here to download
them.
Have fun using this new way to show off your beautiful creations!
Oh, and for those of you that participated in the card swap with the Silhouette Challenge group...yes, one of the cards above is like the ones that I sent in...but you'll have to wait to see which one!
And if you would like some more inspiration from my talented friends on how to use your Silhouette machine with paper, click on through to the fabulous projects below!
Just click through on the picture of the project that you want to see!
Want to Check Out More Silhouette Projects?
1.
McCall Manor // 2.
The Turquoise Home // 3.
Creative Savings // 4.
Sandpaper and Glue // 5.
The Thinking Closet // 6.
Sowdering About in Seattle // 7.
Persia Lou // 8.
From Wine to Whine // 9.
Dream a Little Bigger // 10.
Please Excuse My Craftermath... // 11.
Play. Party. Pin. // 12.
Everyday Paper // 13.
Practically Functional // 14.
A Tossed Salad Life // 15.
My Favorite Finds // 16.
The House on Hillbrook // 17.
Adventures in All Things Food // 18.
A Glimpse Into Barb's Life // 19.
TitiCrafty // 20.
The Experimental Home // 21.
feto soap blog // 22.
Creative Ramblings // 23.
The Stamp Doc // 24.
Ginger Snap Crafts // 25.
Simply Kelly Designs // 26.
Whats Next Ma // 27.
unOriginal Mom // 28.
Bringing Creativity 2 Life // 29.
Cutesy Crafts // 30.
My Paper Craze // 31.
Create & Babble // 32.
Grey Luster Girl // 33.
The Sensory Emporium // 34.
Lil' Mrs. Tori // 35.
Black and White Obsession // 36.
Mama Sonshine // 37.
Weekend Craft // 38.
Creative Carnival // 39.
Peace, Love and Joyce // 40.
Tried & True // 41.
The Frill of Life // 42.
Dragonfly & Lily Pads // 43.
Get Silvered // 44.
Minted Strawberry
Thanks for stopping by!
Meredith
Hello Friends!
I have another project to show, and of course, I'm sharing the file too!
I ran across this project, and used my Silhouette to make a similar one for myself!
The how-to's are in the file, which I have for you to download free!
But before you go to the download, I decided to take it a step further...
I love decorating a bit for each holiday, but honestly, in the middle of tax season, I'm just too busy to spend very much time at it...so flip the banner over for the surprise!
I thought that a banner I could use for both Valentine's Day and St. Patrick's Day would be great, so I made it reversible!
The assembly is pretty simple, and adaptable to your skill level. I've included how I made mine in the download, so I won't bore you with the details here.
Surprise Burlap Banner
Free File Etiquette: You may use this file to make physical projects to keep, give away, or sell. Please do not share the file itself, direct others to this page to download for themselves. Thank you!
I will however, share a quick tip for cutting burlap - you might already know it, but if you don't it will save you much frustration while cutting!
The problem that I have with cutting burlap is getting a strait line...even if I flatten the fabric and cut carefully, it is so slippery, that I end up with jagged edges, no fun!
So, here's the tip: decide where you want to cut, then pull out one thread of burlap all the way from side to side.
Now you have a 'space' that you can follow with your scissors, to cut a strait line in the burlap!
I hope you enjoyed my project, and encourage you to go create!
I'm joining forces with some online friends today, as a part of the Silhouette Challenge group.
Today's challenge is all about fabric - so if you like fabric, and love inspiration, come join the party!
- No-Sew Valentine's Day Pillows by A Tossed Salad Life
- No-Sew Interchangeable Fabric Bunting by unOriginal Mom
- Monogrammed Burlap Garden Flag by The Turquoise Home
- Crawl, Walk, Bike by It's Always Craft Time
- Freezer Paper Stenciled Tote Bags by Weekend Craft
- DIY Bleach Spray Shirt by Practically Functional
- Stenciling Sherlock by Please Excuse My Craftermath...
- Felt Star Wands by Cutesy Crafts
- Yoda Kid's T-Shirt by Architecture of a Mom
- Mark Your Territory- Dog Flags by Black and White Obsession
- Nautical Pillows by Lil' Mrs. Tori
- Big Sister Gift & Silhouette Cut File by Creative Ramblings
- Nerdy Baby Onesies + Free Cut File by Essentially Eclectic
- Easy Easter Bunny Onesie - Silhouette Cameo Craft by Adventures in All Things Food & Family
- Fabric Envelopes for LEARNING LETTERS! (& cut file) by From Wine to Whine
- "Good Morning, Sunshine!" Memo Board by Tried & True
- Hearts-A-Lot Burlap Pillow Cover by My Paper Craze
- Baby Quilt by Dragonfly & Lily Pads
- Surprise Holiday Banner by Whats Next Ma
- "Team Betty" Tote Bag by The Thinking Closet
- DIY Sock Minion by Create it. Go!
- Pretty Up Some Organza Bags by Getsilvered
- Easy Heart Appliqued Onsies by Create & Babble
- Bleach Pen Gel & Freezer Paper Stencils Made with the Silhouette Machine by Bringing Creativity 2 Life
- Valentines Baby Onesie & Boy's Shirt + Free Cut Files by The Frill of Life
- Valentine's OWL Always Love You T-shirt by My Favorite Finds
- DIY Screen Printed Curtains by Chicken Scratch NY
- Fabric Painted Quilted Wall Hanging by Terri Johnson Creates
- Glitter Iron-On Top by Simply Kelly Designs
- DIY Monogrammed T-shirts with Silhouette Heat Transfer Material by Pitter and Glink
- Birthday Challenge by Fadville
- Machine Applique with SIlhouette Cameo by The Sensory Emporium
- Fabric Applique Valentine's Day T-Shirt by DailyDwelling
- "Cute as Cupid" shirt by crafts, cakes, and cats
- Sew Cute Applique by Life After Laundry
- Rhino Onesie by It Happens in a Blink
- Upcycled Birchbox Cameo Accesory Organizer by Cupcakes&Crowbars
- Customizing textiles with Heat Transfer Vinyl (working title) by feto soap
- Easy Fabric Art by McCall Manor
- Lady Bug Tote Bag with Silhouette Rhinestones by Ginger Snap Crafts
- Mommy and Em's Coordinated Aprons by TitiCrafty
- Canvas sketch project and a share by Clever Someday
- Foxy Lady Pajamas by Mabey She Made It
- Teddy Bear by Work in Progress
Thanks for stopping by,
Meredith