Saturday, October 2, 2010

It's a Cardmaker's World Cardmaking Day Blog Hop!

You are on the CardSwaps World Cardmaking Day Blog Hop! You should have arrived here from Irina's blog. If you got here differently, make sure you start at the beginning and work your way around. Comment on every blog by midnight CST, October 3, 2010, to be entered in to a drawing for prizes. The full list of prizes are on Lora's blog.

My Challenge was....make a 10 minute card....

Which is a funny challenge to me, because I am a fan of Stephanie Barnard of The Stamps of Life, and she actually posts a monthly video titled, "30 second card (in 5 minutes) on her blog, and I always get a kick out of watching them...sorry, no videos here! (lol)

Ok, really...this was a lot harder than I thought it would be....really!

I wanted to get a couple of things out before I started the timer...here is my workspace, ready to go...

Photobucket

I thought that it would be fun to make a halloween card...since I've got all that stuff gathered, waiting to make some with my son...

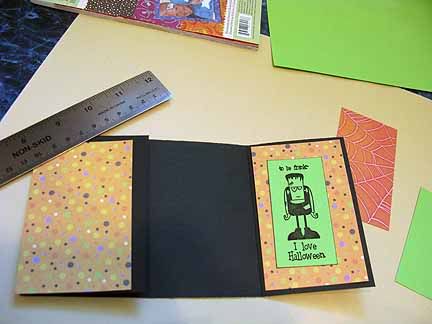
So, here is what I had after 10 minutes...
Photobucket

That's it!!! I had the card folded, I had two of my inside mats cut...and I had one image stamped....how pitiful is that!!!!!

I thought it was hilarious! I guess I've never paid any attention to how long I spend making a card....have you?

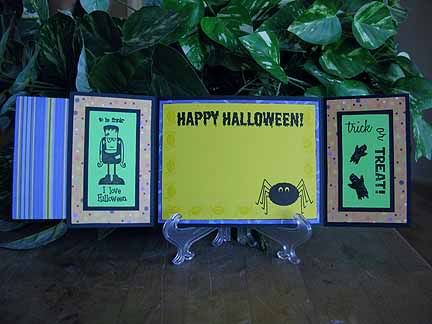
So, more than 40 minutes later....this is what I had....

Photobucket

Photobucket

Card Supplies: cardstock (green, black, yellow, white) from stash, patterned paper (purple moons, orange polka dots) K & Co, ink (black, watermark) Tsukineko (white) blanco, stamps (frankenstein) craft smart for Michael's (ghost, boo, spiderweb, spider, mini ghosts, happy halloween and trick or treat) The Stamps of Life spooky2scare and thanks2fall sets

An adorable halloween card, inside and out...but I'm still laughing about how long I take to create a card!!!!

Here are some close-ups of the details...

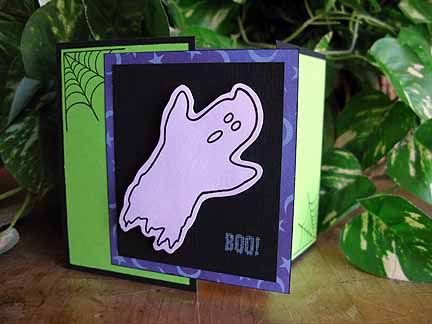
I made a gate-fold card...just cut your cardstock 11" wide by 4 1/4" high, and score it at 2 3/4" in from each short side...then they will meet in the middle!
Photobucket

I cut the purple rectangle mat at 3 1/4" wide by 3 3/4" tall, and the black mat a bit smaller, and only adhered it to half of the front...so that the card could open...
Photobucket

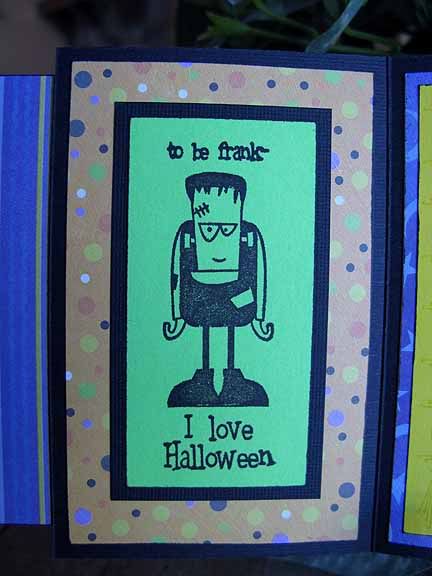
Isn't this stamp a crack-up? I got this one in the dollar bin!!!

I cut the mats for the sides (both front and back) at 2 1/2" wide by 4" tall.
Photobucket

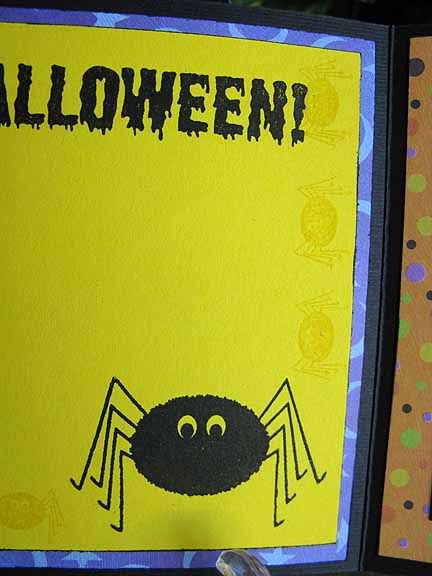
Here you can see my watermarked spider border....
Photobucket

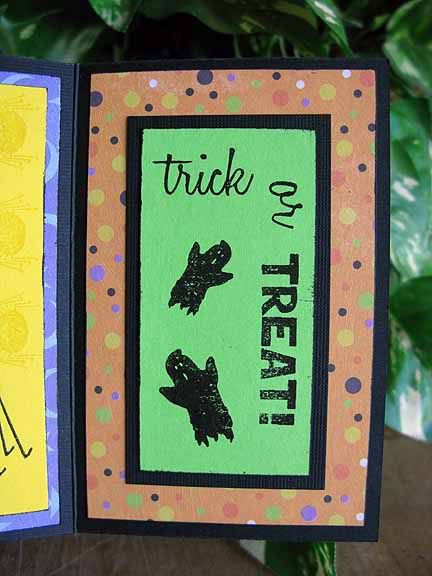
And the second side...aren't those wee ghosties adorable?

Lots of details...which makes for a much longer than 10 minute card!


Honestly, I thought I could do better, time wise...so I tried again....

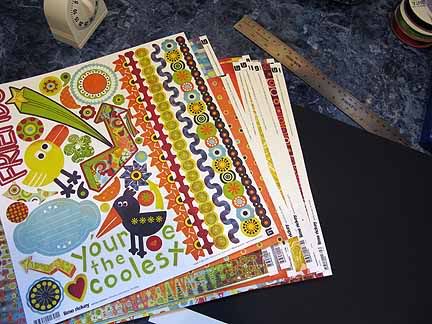
Here is my work area ~ take two...
Photobucket

This time, I decided to pull out a coordinated paper/embellishment pack. Maybe it was cheating....but I call it smart planning!

10 minutes later, I was much happier with my results....
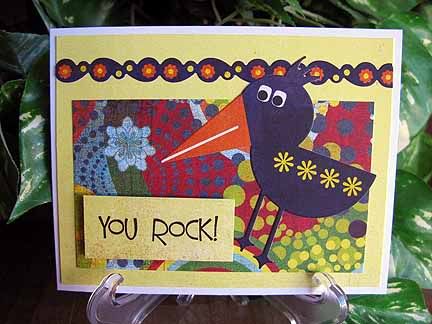
Photobucket

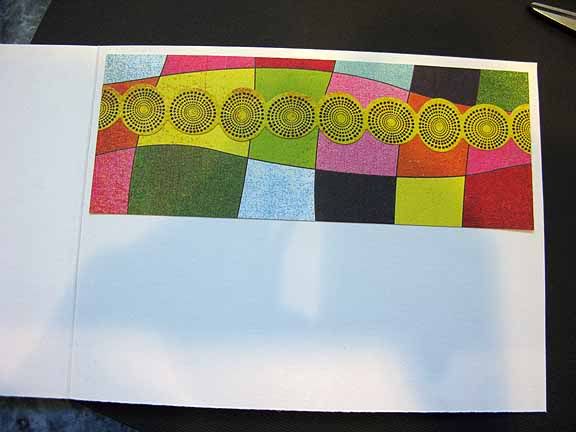
The front was done....and the inside just needed the sentiment....
Photobucket

Here it is completed inside....took me about 12 minutes total....much better!

Photobucket

Card supplies: cardstock (white) from stash, patterned cardstock and sticker embellishments lime rickey by Basic Grey, ink (black) Tsukineko, stamps (thanks, you rock) The Stamps of Life thanks2you set.

So, all in all, I learned that I'm not that creative when under the clock!!! How about you? Are you ready to give it a try? When you finish the blog hop, the last link will be to the mini-crop challenges on the Cardmaker message board....I'm going to have fun reading and seeing what others can do in their 10 minutes!!!

A bit about me ~ Like many, I started cardmaking as an offshoot of scrapbooking. I was attending regular crop nights at a local scrapbooking store and was exposed to lots of gorgeous rubber stamps and card samples ~ eventually, I decided to try my hand, and now, my pictures remain lonely and unprinted on my computer while I make cards every opportunity that I have! If you browse through my blog, you'll see that I try lots of different techniques and styles, but lean toward simple and slightly distressed with texture...


Now, on with the blog hop!


You have until midnight, CST, October 3rd 2010, to post your comment on each blog along the hop. Everyone that comments on each blog will be entered into the drawings for blog hop prizes. In addition, if you want to participate in the challenges for the mini crop at Card Swaps, go check it out after the blog hop and upload your completed project by midnight CST, October 3, 2010, in order to get in the drawings for more prizes!

Your next stop on the hop is Ana!
Here is the complete list of blogs participating...be sure to get them all!


Lora
Jeanette
Laura
Faith Skrdla (Designed 2 Delight)
Jane
Lori (representing Stretch N Bubbles)
Meredith <--- You are here!

Friday, October 1, 2010

Have you heard?

My favorite place to play online is having a mini-crop and blog hop in celebration of World Cardmaking Day!

So click on over to the Cardmaker magazine message board and join in on the fun October 2nd and 3rd!

There will be challenges, there will be fun, there will be a blog hop, there will be prizes!

And guess what? Yours truly is one of the 'hosts' for the blog hop! I'm excited, since I've participated in blog hops before, but this will be the first time I've been one of the hosts.

Not familiar with blog hops?

A blog hop is where several blog writers agree to post about a specific subject (in this case, the Cardmaker's message board World Cardmaking Day Mini Crop) on a specific day, or for a specific time.

Participants follow the links from blog to blog, commenting on each blog as they go. Sometimes the hops include prizes to win, but they are always full of inspiration and fun!

I hope to 'see' you for our hop!

Enjoy,

Meredith

Thursday, September 30, 2010

Playing with free svgs

Well, it is a tremendously generous world out there...and I am grateful for being able to share in the bounty...

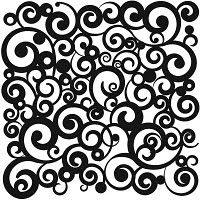
If you do a search for 'free svg' you will come up with a lot of sites and blogs that have them available....one such place that I have downloaded a few files from is the Free SVG Blog, and yesterday I tried out one of the files....fabulous!

Photobucket

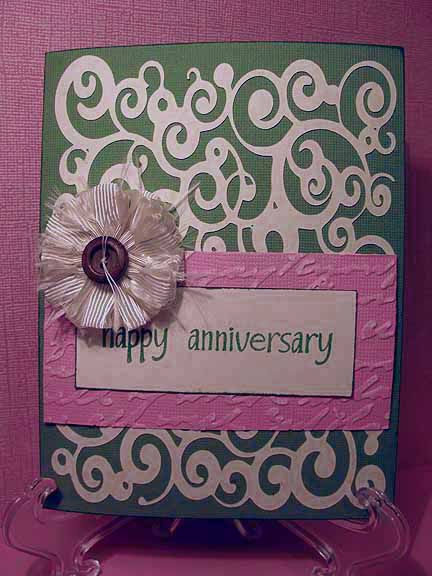
It was originally designed to be cut out as a 12x12 page...which I will certainly use it for another time...but I wanted a 'lace' background for a card, so I resized the file, and used MTC to send it to my cricut to cut....I'll admit, I was a bit nervous, because of all the small cuts and curves...but it worked beautifully!

Here is my finished card...with the gorgeous lace background....thank you to generous designers who share their files for free!!!

Photobucket

Now, I know you want this file...so you head right on over to the Free SVG Blog and pick it up...be sure to leave a thank you!

I'm inspired to learn how to make one of these lace backgrounds for myself...only make it in a size intended to be used on cards....4" by 5 1/4"....that would easily scale just a bit up or down....hmm....looks like I'll be playing with a graphic editing program soon!

Enjoy,

Meredith

Tuesday, September 28, 2010

I've found a new toy!

So, I purchased a cricut a while ago ~ and then I purchased an expression machine a couple of months ago...and they are a lot of fun ~ but they are not my 'new' toy....

...here's the brief back story: my women's group at church is hosting a crafter's weekend, and the lady in charge of planning it found this great project Be Blocks ...well, we searched high and low for the already cut vinyl lettering with no luck...so, being me, I volunteered to come up with the pattern and cut the vinyl...even though at the time I had no inkling how to do so...

...enter my new toy...Make the Cut! MTC is a software that works with your cricut and allows you to cut fonts and images that are not on your cartridges...too cool!

I have found this software to be extremely user friendly ~ any features that I have wanted to use, and have not figured out in the first few minutes, I have been able to find tons of tutorials online and through the MTC message forum (thanks, y'all!).

So, one of the features that I am totally in love with ~ besides the ability to cut true type fonts ~ is the ability to import a jpg and MTC will 'trace' the image, and make a cutting file! It is too easy, and it is fabulous!!!

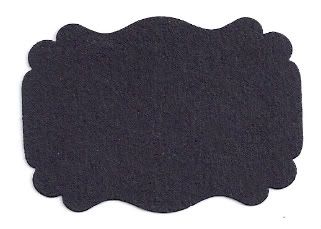
For example...this is the shape of a new EK Success punch that I purchased recently

Photobucket
I adore this shape, and am using it in a mini album that I am putting together with family pictures, among other things...

Photobucket

My dilema was this...I wanted to mat the shape, but there are no other sizes of this punch available! I didn't look right matted on a basic shape, and I'm not very patient, so handcutting mats did not appeal to me.

Enter MTC! I punched out the shape in black, scanned it into MTC, and voila! I have my shape in any size or ratio I want! It's wonderful! I can now cut this shape out larger for mats of the original punch...

Photobucket

Or smaller for accents (this is the back of the 3" album)

Photobucket


Or...super-sized for cards!

Photobucket

Isn't that awesome? Can't you just picture the possibilities? I have lots of punches that I don't use as much as I could, because I either don't own or don't have available larger and smaller sizes...what freedom I have now!

For those of you who have already discovered Make the Cut or a similar program, here is a link to the svg file for my awesome real estate sign shape.

Photobucket


real estate sign svg


Ettiquiette for digital files: Feel free to use the cut shape however you wish, but please do not share the file itself. Please direct inquiries back to this post. Thank you.

Enjoy,


Meredith